
Shooting on White and Staying away from Flaresville
When I first started photographing headshots, one of the most difficult things to master, aside from coaching and directing my clients, was lighting the background.
I know that this sounds like an easy task. You just throw up a light or two, crank the juice and the background is magically lit.
If only it was this easy! That is a one-way ticket to Flaresville, and you definitely don't want to go there.
I have a preference for shooting my headshot images on white, grey or black backgrounds.
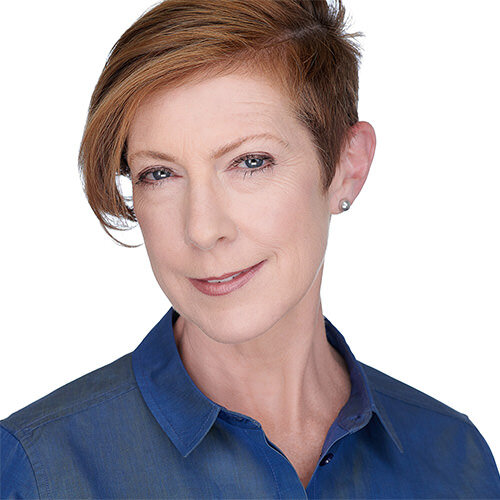
I prefer the simplicity and cleanliness of a plain background, because it brings the attention to my client. I want the viewer of the image to be drawn into the expression and interaction of the subject, and not be distracted by anything else happening.
So, how do i go about achieving this clean aesthetic?

It all starts with a roll of Savage Universal Pure White Seamless Paper. I love the quality of the seamless, and I really enjoy the fact that when the paper gets a little worn, torn, used or dirty, I can simply cut off some length and unroll a bit of fresh paper. This is a super flexible option for my studio. The seamless paper takes light really well and delivers a consistent result day after day.
In my studio, consistency is a really big deal. I like knowing that when I make an image, I don't have to worry about color shifts, and other oddities. While things are easily fixed in Photoshop, I prefer not having to take extra steps, if I can avoid it.
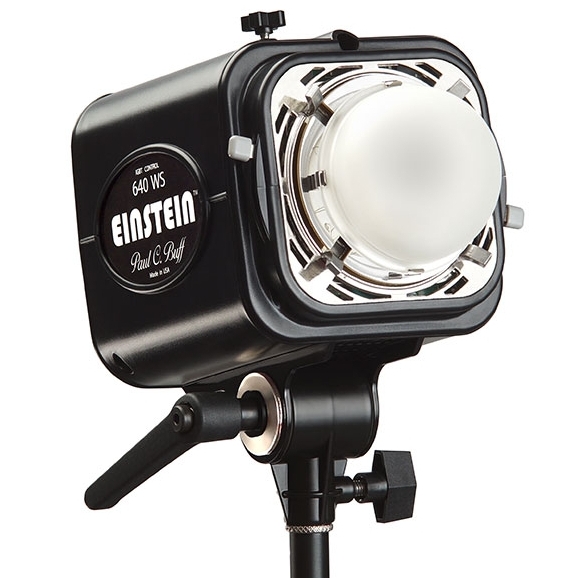
I use two (2) Paul C. Buff Einstein E640's to illuminate my background; One from each side of the background. The distance to the background is dependent on your own set up. However, mine are positioned around 3-5 ft from the background.
You don't need to spend a metric fortune on high end lights to light your backgrounds. Of course, if you have other reasons for doing so, then please enjoy...and show off your work! However, for lighting your background, I have found that Paul Buff makes good quality, budget friendly options.
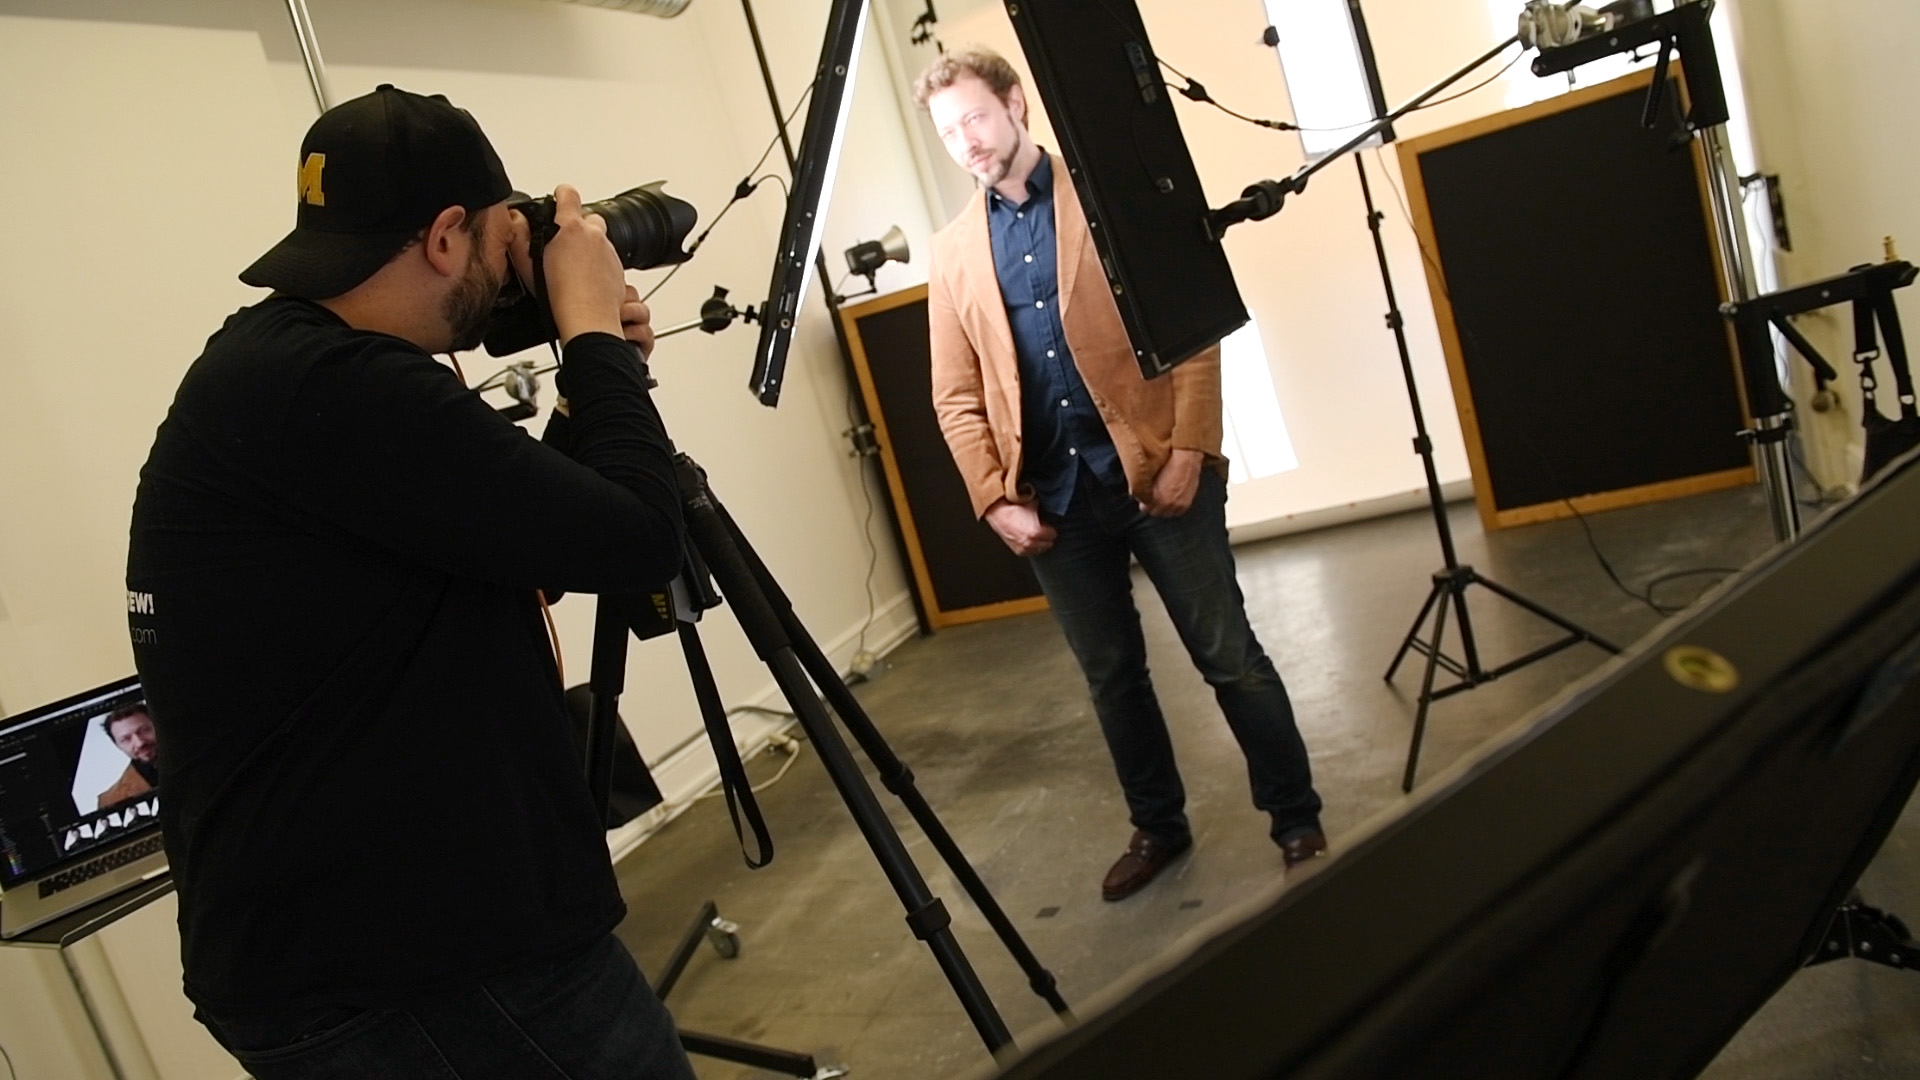
While placement of your back lights and their distance to the background is important, the distance of your subject to the background is even more important. In other words, how far is your client from the background? The goal here is to avoid having the light bounce off the paper and hit your client. If your subject is too close, that light will wrap around them, creating a massive amount of flare. Living in Flaresville is not a good thing, and is an all too common error. Flare washes out detail in the hair, edges of the skin and hair, kills contrast and color and is an unnecessary distraction.
I use black V-flats in my studio, which prevents the light firing at the background from hitting my subject and from hitting my lens. A V-flat is just 2 pieces of foam board (black or white), held together with gaffer's tape. They form a V when put into place, and are incredibly useful in the studio. However, on location, you might find that V-flats are cumbersome to carry. So, increasing your distance to the background and messing with the distance of the backlights to the background might be a smarter option. A few tweaks and adjustments, and you should be good to go.
The key to lighting an image in this manner is in lighting the subject independently of your background. Your strobes are firing at the background, but you will have to use other lights on your client. Whether you illuminate your subject with strobes or continuous lights is completely up to you. Both will work quite well.
Ensure that you expose for your subject, and not the background. Remember, you are blowing out the background. This means that if you expose for the background, your subject will appear dark and muddy. Again, you are lighting the subject independently of the background, so this shouldn't be an issue.
Another common error is to crank up the power on your backlights and expect a perfectly blown out background. Sure, the background will be blown out, but your client may turn different shades of white as well. The best way to approach this is to start with low power levels on your back lights. Move the power up incrementally until you achieve the desired level of white.

If you don't already, I highly recommend shooting tethered into a computer. It's easier to see the images when they are displayed larger than 3 inches. Plus, it allows for additional flexibility and visibility when gauging your background situation. Tether Tools is my go-to for all things tethering. They make incredible equipment that allow me to function effectively and efficiently. I choose to use the Tether Tools Aero Table Master, The Tether Tools Tether Cable 3.0 and the Tether Boost 3.0. I tether directly into Capture One Pro.

If you are using Capture One Pro, you will notice that there are indicators near the top of the screen that help gauge the RGB and lightness values of your image. This is incredibly useful in determining how white your background actually is. 255 is as far as the meter goes. This means that we are in pure white territory. However, it is advisable to keep those numbers around 253. The reason for doing so is that 255 signifies a loss of detail. There is no information in the image when pure white occupies that area. Dialing it back a bit keeps the detail in there, and that's a good thing! In addition, you'll likely end up adjusting things in post processing. This will undoubtedly mess with the lightness value of your background. If you are at 253, you still have a little space left before you max out the meter.
So, to recap:
Savage Universal Pure White Seamless Paper. (vinyl will work as well).
Set up 2 lights on each side of the background for even lighting
Use V-flats
Set up your key and/or fill lighting to illuminate your subject
Raise the power on your backlights incrementally
Shoot tethered!
Capture One shows RGB and lightness values. Try to keep them around 253
I have chosen Savage Universal's Pure White Seamless for use in my studio. However, you can also use the Super White Seamless Paper as well. If you are really daring you can mess with the Inverse Square Law to get that white seamless to go darker...which means, shades of grey and even black! That's a fun little trick, but we can talk about that more another time! Until then, happy shooting!